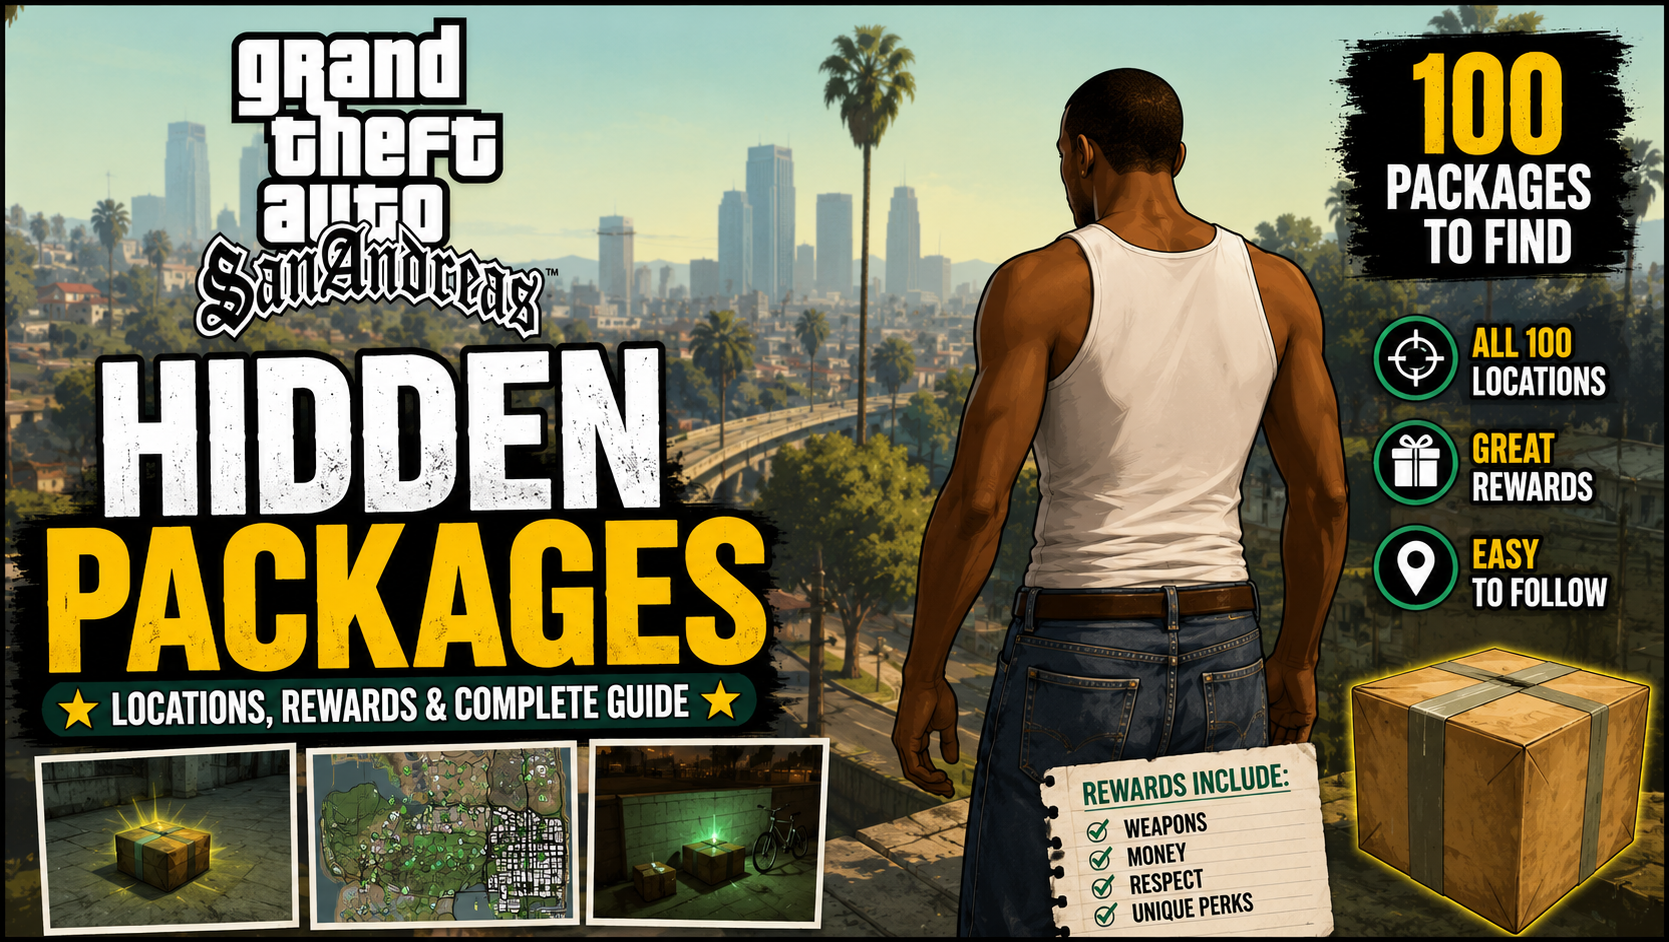
So you’re chasing that 100% in GTA San Andreas. You’ve finished the story and done a few side missions, and you’re sitting somewhere around 80-something percent, wondering what on earth you’ve missed.
Welcome to the club. Every San Andreas player has been there. The problem is that this game is massive. Three cities, a giant desert, underwater locations, rooftops, dark alleys, Rockstar hid collectibles everywhere. And if you don’t know exactly what you’re looking for, you can wander around for hours and still come up short.
This guide breaks down everything, GTA San Andreas hidden packages, all 50 snapshots, every collectible type, and exactly what it takes to hit that 100% screen. Whether you’re on PC, PS2, or the Definitive Edition, this guide works for all versions.
Visit Now: https://gtasanguide.site/
What “Hidden Packages” Actually Means in San Andreas
If you’ve played GTA III or Vice City, you know the drill, 100 hidden packages scattered around the city, collect them all, get rewards. San Andreas works a little differently.
Instead of one single set of packages, San Andreas has four different collectible types spread across its three cities. When most players search for GTA San Andreas hidden packages, they’re really looking for one or all of these four:
| Collectible | Total | City | Reward |
| Gang Tags | 100 | Los Santos | Weapons spawn at Grove Street safe house |
| Snapshots | 50 | San Fierro | Weapons spawn at Doherty Garage |
| Horseshoes | 50 | Las Venturas | Cash bonus + weapons at Four Dragons Casino |
| Oysters | 50 | All cities (underwater) | Max sex appeal + max lung capacity |
Each one counts toward your overall completion percentage and comes with its own unique rewards. Here’s the good news, none of them are impossible to find. Some just need a bit of direction.
Gang Tags — The Los Santos Collectibles
Tags are the first collectibles you’ll encounter in the game, and they’re available from the very beginning. There are 100 gang tags spray-painted across Los Santos by rival gangs, and CJ needs to tag over all of them to reclaim turf for Grove Street.
Why You Should Do Tags First
As soon as you spray all 100 tags, four weapons permanently spawn at the Grove Street safe house, AK-47, Tec-9, shotgun, and Molotov cocktails. Every time you respawn or reload that save, they’re there again. This alone makes early-game missions significantly easier.
How to Find the Tags, (GTA San Andreas hidden packages)
Tags show up as green spray can icons on the minimap when you’re within range. You need a spray can in your inventory, grab one from any convenience store or find one at the Grove Street safe house.
Here’s where they’re clustered across Los Santos:
Ganton (CJ’s Neighborhood): Multiple tags around the housing blocks, on the walls near the basketball court, and along the street leading toward the bridge. This is the densest area for tags, so start here.
Idlewood and Willowfield: “Ballas territory” means a lot of gang presence, and a lot of tags. Check shop fronts, alley walls, and the sides of buildings near intersections.
East Los Santos: Near the housing projects, in car parks, and around the back streets. A few tags here are on walls that face away from the road, so keep checking every building surface.
Jefferson: Around the motel area and the streets leading toward the freeway. Some tags are tucked behind walls that you’d only notice if you’re actively looking.
Verdant Bluffs and Marina: Cliffsides and walls near the beach. One or two are positioned high enough that you’ll need to stand on a vehicle to reach them.
Vinewood and Commerce: On buildings near the famous Vinewood sign, around the busier commercial streets, and in some car parks near the shopping areas.
A few tips before you go hunting:
- Always check inside multi-storey car parks, Rockstar loves hiding tags in dark corners there
- If a tag is too high, park a car against the wall and climb on top
- Do tags area by area rather than random exploration, it’s way more efficient
Read More: GTA SanAndreas Cheat Codes for PC — Full List
GTA SAN Snapshots Locations — The San Fierro Collectibles
Once you arrive in San Fierro, the snapshot collectibles open up. There are 50 in total, and these work differently from tags, instead of spraying or collecting a physical object, you need to take a photo of specific locations using a camera.
How Snapshots Work
You need a camera in your inventory. Equip it, aim at the correct landmark or viewpoint, and take the photo. When the game registers it, you’ll hear a confirmation sound and receive a cash bonus. The tricky part is that you need the right angle, some snapshots won’t trigger unless you’re standing in a very specific spot.
The camera is available at Ammu-Nation or can sometimes be found at safe houses in San Fierro.
Snapshot Rewards
Weapons unlock at the Doherty Garage as you collect snapshots in groups of ten:
- 10 snapshots — pistol and SMG spawn
- 20 snapshots—shotgun added
- 30 snapshots — sniper rifle added
- 40 snapshots — Molotov cocktails added
- 50 snapshots (all) — full weapon set permanently available at Doherty
Where to Find All 50 GTA SA Snapshots Locations, (GTA San Andreas hidden packages)
Downtown San Fierro: The bay bridge is home to a few snapshots, take photos from the bridge deck looking outward. The financial district skyscrapers need photos taken from ground level looking up. The pier area near the waterfront has another couple near the marina entrance.
Calton Heights and Juniper Hill: The residential hills above the city have scenic viewpoints that double as snapshot locations. Walking up the switchback roads, keep your camera out, the triggers are near hilltop viewpoints overlooking the bay.
Chinatown: Street-level photos near the temple buildings and the arch entrance. These are straightforward once you know where Chinatown begins on the map.
Garcia: The industrial docks have snapshots near shipping containers and warehouses. A couple more are near the entrance to the Doherty Garage itself.
Easter Basin: Near the naval base, specifically the aircraft carrier and the dry dock. Some of these are taken from the water’s edge looking toward the ships.
Paradiso: Near the residential streets and the neighborhood park. A few snapshots here are on quieter side streets that are easy to walk straight past.
King’s and Avispa Country Club: The golf course and country club building show up as snapshot locations, take photos from the greens looking toward the clubhouse.
Quick tips for snapshots:
- If a snapshot doesn’t register, don’t move, just adjust your angle slightly and try again
- Nighttime lighting can make some shots harder to trigger. Try during daytime in-game
- Work district by district using a dedicated snapshot map, print one out or keep one open on your phone
Horseshoes — The Las Venturas Collectibles
Golden horseshoes are physical items you collect by walking through them. There are 50 across Las Venturas and the surrounding desert, and they’re some of the most rewarding collectibles in the game reward-wise.
Horseshoe Rewards
Collecting all 50 horseshoes gives you:
- Around $100,000 in cash
- Maximum luck stat, which directly increases your casino winnings
- Weapons spawning at the Four Dragons Casino, katana, shotgun, SMG, and grenades
The luck stat is genuinely useful in Las Venturas because it affects slot machines and table games. Doing horseshoes early in your Las Venturas chapter means more casino money for the rest of your playthrough.
Where to Find All 50 Horseshoes
The Strip: Several horseshoes are inside and outside the major casino buildings. A few are on rooftops — you’ll need to find stairs or elevators inside the casinos to reach them. Check car parks and hotel entrances thoroughly.
Redsands East and West: In residential areas east of the Strip, horseshoes appear in backyards, near the hospital building, and behind the airport terminal. The suburban layout makes these harder to find because every block looks similar.
Emerald Isle and Old Venturas Strip: Inside older casino buildings and around the rundown hotel district. A few are in areas that look abandoned, don’t skip them thinking there’s nothing there.
The Desert (Bone County and Tierra Robada): This is where most players struggle. Desert horseshoes have almost no landmarks to use as reference points, and they can blend into the sandy terrain. Work through the desert in a systematic grid using a top-down map, and use a fast vehicle or helicopter rather than wandering on foot.
Oysters — The Underwater Collectibles
Oysters are the most physically demanding collectibles in GTA San Andreas. All 50 are hidden underwater, in rivers, bays, ocean floors, and coastal waters, and you need to dive and collect them manually.
Before You Start: Build Lung Capacity
Your lung capacity stat determines how long CJ can hold his breath underwater. At the start of the game, it’s very low, and you’ll drown before reaching half the oysters on the seafloor.
Build it up first by repeatedly swimming underwater in safe, shallow areas near beaches or rivers. Getting your lung capacity above 50% before oyster hunting makes a serious difference. At max lung capacity, CJ can stay underwater for several minutes at a time. (GTA San Andreas hidden packages)
Oyster Rewards
- Maximum sex appeal stat
- Maximum lung capacity (if not already maxed)
- Unique NPC reactions to CJ
Where to Find All 50 Oysters
Los Santos Coastline Several oysters sit on the seabed near Santa Maria Beach, just offshore from the pier. A few more are in the bay near the docks, in fairly shallow water. The waters off Verdant Bluffs also have some deeper-placed oysters.
San Fierro Bay A significant cluster sits near the bridge pylons connecting San Fierro to the rest of the map. More are off the Easter Basin naval base shoreline. The shallow areas under the bridge are a good starting zone.
Inland Rivers and Lakes Rivers running through the desert, especially near Tierra Robada, have oysters sitting on the riverbed. These are often completely overlooked because players don’t think to check rivers.
Open Ocean Between Cities Some oysters are in genuinely deep, open water between the three cities. The Sea Sparrow helicopter is essential here, it can land on water, letting you hop out, dive, collect the oyster, and climb back in without losing your aircraft.
Tips for oyster hunting:
- Use the Sea Sparrow whenever possible, it transforms oyster hunting from a nightmare into something manageable
- Dive directly down from a boat or helicopter rather than swimming from shore
- Some oysters are hard to see in murky water. Swim slowly and watch for the yellow glow
Read More: GTA San Andreas Mission Walkthrough: Complete Story Guide for Every Stage of the Game
Everything Else You Need for 100% Completion, (GTA San Andreas hidden packages)
Collectibles are a big chunk of 100%, but they’re not the whole picture. Here’s what else the GTA San Andreas 100% completion guide requires:
Story Missions
All 58 main story missions must be finished. This includes the full Los Santos, San Fierro, Las Venturas, and return-to-Los Santos chapters. No skipping, no half-finishing.
Vehicle Sub-Missions
You must complete certain levels of the following side jobs:
- Taxi driver — complete 50 fares
- Ambulance — reach Level 12
- Fire truck — reach Level 12
- Vigilante (police vehicle) — reach Level 12
Unique Stunt Jumps
There are 70 unique stunt jumps spread across the map. The game goes into slow motion when you hit one correctly. A successful trigger counts even if you crash the landing, so focus on hitting the launch ramp at the right speed and angle.
Gang Territory
All 58 Grove Street territory blocks in Los Santos must be captured. The game forces a territory reset later in the story, so make sure you recapture everything before the final missions lock you into the endgame.
Vehicle Schools
You need at least a bronze medal at all lessons in:
- Driving school (San Fierro)
- Motorbike school (Tierra Robada)
- Flying school (Verdant Meadows)
- Boat school (near San Fierro)
Flying school is the toughest. Give yourself time and practice the harder lessons, particularly the loop and the skydive, multiple times before expecting to pass.
Gym Challenges
Train at all three gyms, Ganton Gym in Los Santos, the gym in San Fierro, and the gym in Las Venturas. Each teaches a different fighting style, and reaching the required stat level at each counts toward completion. (GTA San Andreas hidden packages)
Smart Strategy: How to Reach 100% Without Burning Out
Do city-specific collectibles while you’re there. Collect tags while you’re in Los Santos, snapshots while you’re in San Fierro, and horseshoes during the Las Venturas chapter. Backtracking at the end is painful.
Keep a checklist. A physical or digital checklist for each category is genuinely the most useful tool. Cross things off as you go. It also shows you exactly where you’re falling short.
Mix it up. Don’t grind one thing for three hours straight. Grab a few horseshoes, then do ten taxi fares, then grab more horseshoes. Breaking it up keeps the whole thing from feeling repetitive.
Use a helicopter for everything possible. Once you can fly, getting around San Andreas is three times faster. Flying to a cluster of oyster locations or desert horseshoes takes minutes instead of an hour of driving.
Save frequently and use multiple save slots. If you fail a unique jump or think you missed a collectible trigger, you don’t want to lose an entire session.
What You Get for 100% Completion, (GTA San Andreas hidden packages)
When that final percentage ticks over to 100%, GTA San Andreas rewards you with:
- Infinite health: CJ’s health auto-refills if it drops too low
- Infinite ammo: every weapon gets unlimited ammunition
- A one-star wanted level increase across the board (a small price to pay)
You’ll also get the completion confirmation on screen. For a game this size, it genuinely feels earned.
Full Completion Checklist at a Glance
| Requirement | Target | Key Tips |
| Story Missions | 58 total | Must complete all chapters |
| Gang Tags | 100 | Los Santos, do these first |
| Snapshots | 50 | San Fierro, carry camera always |
| Horseshoes | 50 | Las Venturas, tackle desert last |
| Oysters | 50 | Whole map, use Sea Sparrow |
| Unique Jumps | 70 | Slow-mo confirms successful trigger |
| Taxi Fares | 50 | Grind between story missions |
| Ambulance | Level 12 | Quieter areas are easier |
| Fire Truck | Level 12 | Same as ambulance strategy |
| Vigilante | Level 12 | Use armoured police vehicles |
| Vehicle Schools | All 4 | Bronze minimum, flying is hardest |
| Gang Territory | 58 blocks | Recapture after story reset |
| Gym Challenges | 3 gyms | Max out each fighting style |
Read More: GTA San Andreas System Requirements & How to Install on Windows 10/11
Conclusion
Chasing 100% in GTA San Andreas is one of those gaming experiences that sounds overwhelming at first but becomes genuinely enjoyable once you have a plan. The GTA San Andreas hidden packages, tags, snapshots, horseshoes, and oysters are all findable. The sub-missions are all completable. And that final reward screen is absolutely worth every minute you put in.
Do it city by city, keep a checklist, and don’t leave everything for one big push at the end. The game is big enough that spreading the work out makes it feel like exploration rather than a chore.
FAQ’s
What are the hidden packages in GTA San Andreas?
San Andreas doesn’t have traditional hidden packages like GTA III or Vice City. Instead, it has four collectible types, 100 gang tags in Los Santos, 50 snapshots in San Fierro, 50 horseshoes in Las Venturas, and 50 oysters scattered underwater across the whole map. Together, these are what players refer to as GTA San Andreas hidden packages.
How many collectibles are there in total in GTA San Andreas?
There are 250 collectibles in total, 100 tags, 50 snapshots, 50 horseshoes, and 50 oysters. Each set has its own reward system and all of them count toward your 100% completion. (GTA San Andreas hidden packages)
Do I need to collect all tags, snapshots, horseshoes, and oysters for 100%?
Yes, all four sets must be fully collected to achieve 100% completion. Partial completion of any set doesn’t contribute toward the full 100%. (GTA San Andreas hidden packages)
What reward do I get for finding all 50 GTA SA snapshot locations?
(GTA San Andreas hidden packages), Completing all 50 snapshots unlocks a full weapon set at the Doherty Garage in San Fierro. Weapons are added progressively every 10 snapshots, so you start getting rewards well before you’ve found them all.
What is the easiest way to find all 50 oysters?
The Sea Sparrow helicopter is the most useful tool for oyster hunting. It can land on water, letting you dive from it without losing your vehicle. Building your lung capacity before starting also makes a big difference. Work through coastal areas city by city rather than jumping around the whole map.
How do snapshots work in GTA San Andreas?
Snapshots are taken with a camera you equip from your inventory. Stand in the correct position near a specific landmark in San Fierro and take the photo. The game confirms it with a sound effect and a cash bonus. If it doesn’t register, adjust your position slightly and try again. (GTA San Andreas hidden packages)
Can I go back and collect missed items later?
Yes. All collectibles remain available until you physically collect them. No story mission or event locks you out. You can find any missed collectible at any point during free roam.
How many missions are required for 100% completion?
(GTA San Andreas hidden packages), All 58 main story missions must be completed. There is no way to reach 100% without finishing the entire story, including the final missions back in Los Santos.
Can I use cheats and still get 100% completion?
Most cheats don’t directly block 100%, but certain ones can break mission triggers or stop sub-mission stats from counting correctly. It’s safest to avoid cheats during any session where you’re grinding completion-required activities. (GTA San Andreas hidden packages)
What is the hardest part of getting 100% in GTA San Andreas?
Most players find the vehicle schools, particularly flying school, and unique stunt jumps the most frustrating requirements. Collectibles are time-consuming but straightforward with a guide. Flying school actually requires skill, and some stunt jumps need precise vehicle speed and angle to trigger properly.
Do gang territory missions count toward 100%?
(GTA San Andreas hidden packages) Yes, all 58 gang territory blocks in Los Santos must be under Grove Street control. The game resets territories during the story, so you’ll need to recapture them after that point.
What is the fastest way to complete taxi and ambulance sub-missions?
For taxi, find a busy area and accept fares one after another without ever exiting the vehicle. For ambulance and fire truck, stick to quieter areas to reduce chaos and lower your chances of destroying the vehicle mid-mission.
How long does 100% completion take in GTA San Andreas?
For most players, it takes between 60 and 80 hours of gameplay depending on skill level and whether you’re using a guide. Collectibles alone can take 8 to 10 hours if you work through them systematically. (GTA San Andreas hidden packages)
What do you unlock after getting 100% in GTA San Andreas?
(GTA San Andreas hidden packages) You unlock infinite health and infinite ammo, permanent buffs that apply for the rest of your save file. The only downside is a one-star wanted level increase, which is a very minor inconvenience compared to the rewards.
Where is the best place to start collecting for 100%?
Start with the 100 gang tags in Los Santos. They’re available from the beginning of the game, they give you a permanent weapon spawn at Grove Street, and finishing them early means you’re not backtracking across the whole map at the end. (GTA San Andreas hidden packages)