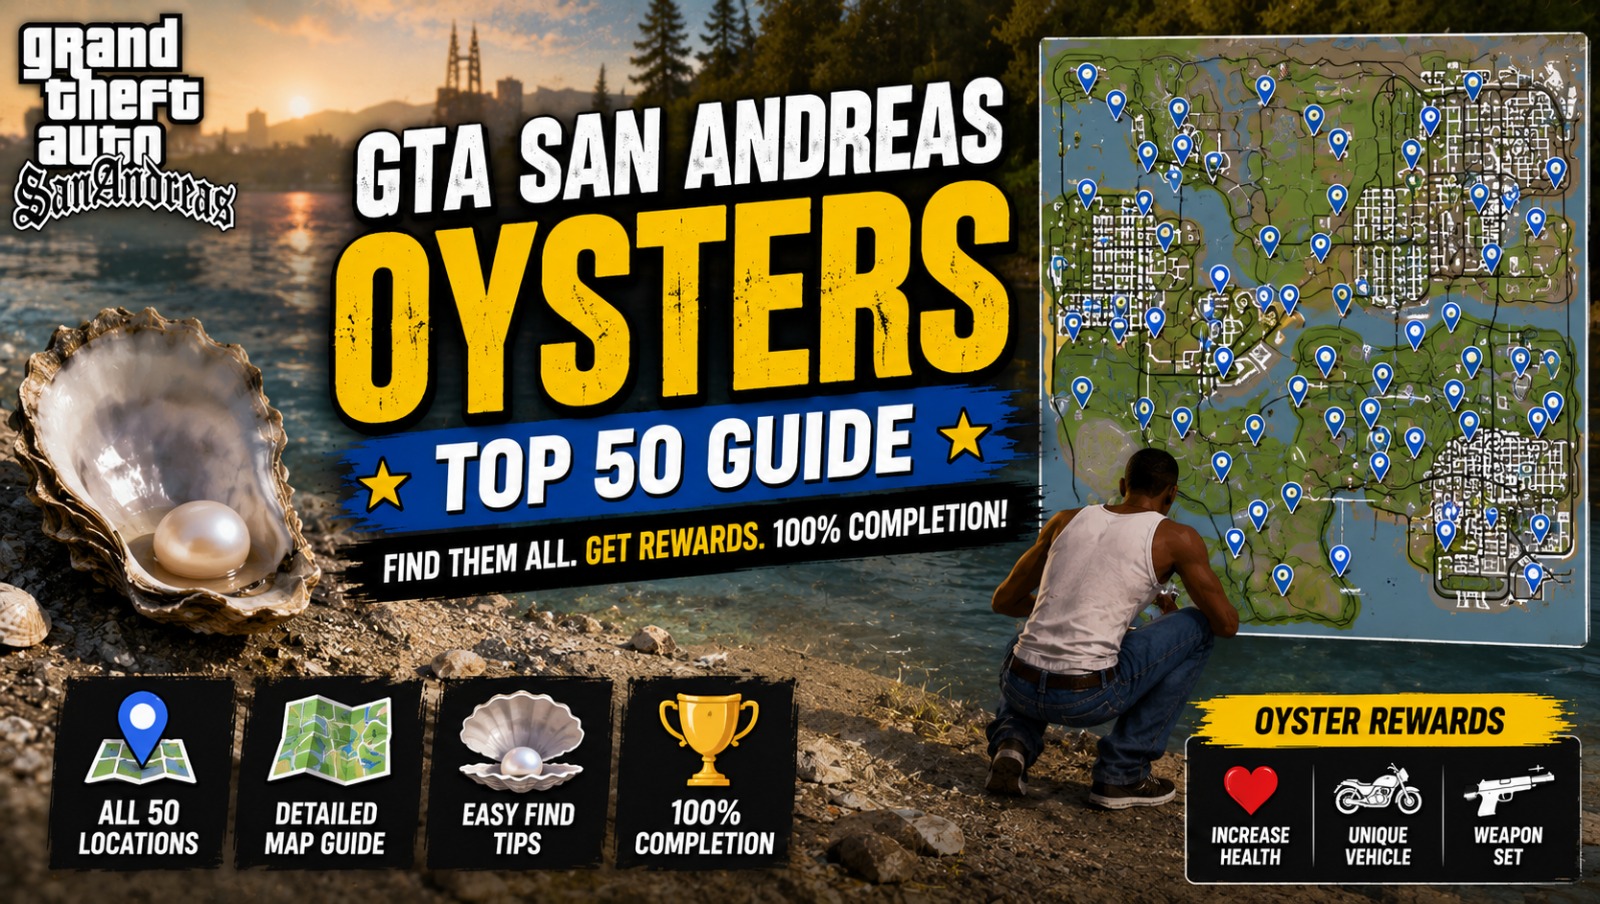
If you’ve already ticked off Spray Tags, Horseshoes, and Stunt Jumps, Oysters are the one collectible standing between you and full completion in GTA San Andreas. They’re also the most overlooked, mostly because they’re hidden underwater instead of sitting out in the open like most other pickups in the game.
This guide covers everything you need to know about GTA San Andreas Oysters locations, what they actually reward you with, where they’re spread across the map, and the fastest way to track down all 50 without wasting hours swimming in circles.
Visit Now: https://gtasanguide.site/
Quick Answer: What Are GTA San Andreas Oysters?
Oysters are one of the game’s collectible types, scattered across every major region of San Andreas. Unlike Horseshoes or Stunt Jumps, which tend to cluster in one or two areas, Oysters are spread across the entire map, and every single one is found underwater.
| Detail | Info |
| Total Oysters | 50 |
| Where they’re found | Underwater, shorelines, under bridges, near shipwrecks, and in pools |
| Reward per Oyster | $100 |
| Reward for collecting all 50 | $100,000 bonus, maximum lung capacity, and expanded girlfriend access |
| Required for 100% completion | Yes |
| Missable | No, available from early in the game |
GTA San Andreas Oysters vs. Other Collectibles
San Andreas splits its collectibles across several categories, and Oysters are just one piece of the full completion checklist. Seeing where they fit alongside the others helps put the size of the task in perspective.
| Collectible | Total Count | Typical Location Type |
| Spray Tags | 100 | Walls and street-level surfaces across all cities |
| Horseshoes | 50 | Scattered mainly around Las Venturas and the desert |
| Oysters | 50 | Underwater, spread across the entire map |
| Unique Stunt Jumps | 70 | Ramps and elevated routes across San Andreas |
| Snapshots | 50 | Specific photo-op locations, mostly in San Fierro |
Oysters stand out on this list for one reason: they’re the only collectible that requires diving rather than driving, walking, or flying to reach. That’s exactly why they’re the category most players save for last, and why a focused Oysters locations guide is worth having open while you hunt.
Why San Andreas Added Oysters as a Collectible
Earlier games in the series relied almost entirely on Hidden Packages as their one collectible type. San Andreas expanded that idea into several distinct categories, Tags, Horseshoes, Stunt Jumps, Snapshots, and Oysters, each tied to a different way of interacting with the map. Oysters specifically exist to make the game’s water areas worth exploring, since San Andreas introduced swimming as a mechanic for the first time in the series. Without a reason to dive, most players would never touch the game’s rivers, bays, or coastline at all. Framed that way, GTA San Andreas Oysters aren’t just a checklist item, they’re the game’s way of nudging players toward a mechanic that would otherwise go unused.
What Counts as an Oyster in GTA San Andreas?
Each Oyster appears as a small shell resting on the seabed, tucked under a bridge support, or occasionally floating in a private swimming pool. CJ has to swim down and physically touch it to collect it, which means you’ll need at least some lung capacity built up before you go hunting, especially in the early game when your oxygen meter drains fast. Recognizing this shape early makes every future GTA San Andreas Oysters location far easier to spot from a distance.
Unlike Tags or Horseshoes, GTA San Andreas Oysters don’t unlock in a fixed story order. You can start collecting them the moment you gain free control of CJ, and there’s no requirement to finish specific missions first. That makes them one of the more flexible collectibles to chip away at gradually instead of saving for a single dedicated session.
GTA San Andreas Oysters Rewards: What You Actually Get
The payout for GTA San Andreas Oysters scales the more you collect, and the full set unlocks benefits that go beyond just cash.
| Milestone | Reward |
| Each individual Oyster | $100 |
| All 50 Oysters combined | $100,000 bonus (on top of the $5,000 collected along the way) |
| Lung capacity | Maxed out, letting CJ stay underwater far longer |
| Girlfriend access | CJ can date any girlfriend regardless of his current Sex Appeal, Fat, or Muscle stats |
| Girlfriend respawns | Girlfriends who dumped CJ, or who died, become available to re-date |
There’s one important exception worth knowing before you grind out every Oyster expecting it to fix a relationship: Denise Robinson and Millie Perkins are tied directly to story missions, so collecting every Oyster won’t bring them back if that relationship ends. Every other girlfriend in the game does benefit from the full Oyster reward.
GTA San Andreas Oysters Locations by Region
Rather than a single cluster, GTA San Andreas Oysters locations are spread across nearly every region in the state. Here’s roughly how they break down across the map:
| Region | Approximate Number of Oysters |
| Los Santos (including the Marina and Santa Maria Beach) | Around 9–10 |
| Red County | Around 6–7 |
| Flint County | Around 5–6 |
| San Fierro (including Whetstone) | Around 10–12 |
| Tierra Robada and Bone County (Desert) | Around 4–5 |
| Las Venturas | Around 9–10 |
Because the count shifts slightly depending on how you group border areas like Flint County and Whetstone, treat these numbers as a practical planning guide rather than an exact county-by-county census. What matters more for actually finding them is understanding the kinds of spots Oysters tend to hide in, which is covered in the next section.
Read More: GTA San Andreas Spray Tags Locations: All 100 (Map & Guide)
Los Santos
Los Santos holds one of the denser clusters of GTA San Andreas Oysters, concentrated mostly around the Marina and the docks near Santa Maria Beach. If you’re starting your hunt from the very beginning of the game, this region is the natural first stop, since it’s accessible before the rest of the map opens up.
Red County and Flint County
The river systems running between Red County and Flint County hide several Oysters under the bridges connecting the two areas. This stretch rewards a slow, methodical approach, cruising along the riverbanks by boat tends to reveal shells that are easy to miss from the road above.
San Fierro and Whetstone
San Fierro has one of the highest concentrations of GTA San Andreas Oysters locations on the entire map, largely because of its extensive bay, multiple bridges, and shipping activity. Between the cargo ships anchored near the bay and the bridges linking San Fierro to Whetstone, this region alone can account for a meaningful chunk of your total count.
Tierra Robada and Bone County
The desert regions have the fewest Oysters overall, but they’re not skippable, a handful sit in the water bodies scattered through Tierra Robada and Bone County. These are often the last ones players pick up simply because there’s less water to search compared to the coastal cities.
Las Venturas
Las Venturas rounds out the map with a strong cluster of GTA San Andreas Oysters tied to its casino-district water features, pools, fountains, and the man-made lakes surrounding several of the city’s landmark buildings. This is one of the more distinctive regions for Oyster hunting, since several are found in decorative water rather than natural coastline.
Where GTA San Andreas Oysters Typically Hide
GTA San Andreas Oysters locations follow a handful of recurring patterns once you know what to look for:
- Under bridges: especially at the support pillars where the water is deepest
- Around shipwrecks and docked cargo ships: usually near the bow or stern, resting on the seabed
- Along shorelines and marinas: close to the edge where boats are moored
- Inside private swimming pools: a handful of Oysters sit in pools belonging to mansions and estates rather than open water
- Near bridges connecting counties: river crossings between Red County, Flint County, and San Fierro are especially Oyster-heavy
Recognizing these patterns matters more than memorizing a fixed route, since it lets you scan unfamiliar water confidently instead of guessing.
The Fastest Way to Collect All 50 GTA San Andreas Oysters
Manually swimming across the entire map is the slowest way to find every GTA San Andreas Oyster location. A faster, more reliable approach comes down to three things: transportation, stat management, and route planning.
- Use a boat for coastline sweeps. A boat lets you cover long stretches of shoreline quickly while keeping an eye out for the telltale shell shape below the surface.
- Use the Seasparrow for cross-map hops. Since the Seasparrow can land directly on water, it’s one of the most efficient ways to jump between distant Oyster clusters without wasting time driving between regions.
- Build your lung capacity early. Diving for Oysters before upgrading CJ’s swimming stat means constantly resurfacing for air. A few dedicated swimming sessions early on will save significant time later.
- Work region by region, not randomly. Clearing one county completely before moving to the next avoids backtracking and reduces the chance of missing one buried near a spot you’ve already passed.
- Pair Oyster hunting with other collectibles. Since Horseshoes and Snapshots are also scattered near water and bridges in several regions, combining collection runs saves considerable time overall.
Choosing the Right Transport for Oyster Hunting
Not every vehicle is equally useful for tracking down GTA San Andreas Oysters locations. Here’s how the main options stack up:
| Method | Best For | Downside |
| Boat | Coastline sweeps and marina areas | Slower through narrow rivers and inland waterways |
| Seasparrow | Covering long distances between regions | Requires unlocking access to the helicopter first |
| Swimming only | Precision searches near bridges and pools | Very slow across large open water |
| On foot to a pool | Mansion and estate pools | Only useful for the handful of pool-based Oysters |
Most experienced players end up mixing all four depending on the region, rather than sticking to just one method for the entire hunt.
Read More: GTA San Andreas Horseshoes Locations – All 50 (Map & Guide)
Common Mistakes Players Make Hunting GTA San Andreas Oysters
A few habits consistently slow players down when working through GTA San Andreas Oysters locations:
- Swimming without upgrading lung capacity first, which forces constant resurfacing
- Ignoring pools near mansions, assuming every Oyster is in open water
- Backtracking across regions instead of clearing one area fully before moving on
- Skipping the Seasparrow, which cuts travel time dramatically compared to driving or swimming between distant regions
- Assuming Oyster order matters, when in reality they can be collected in any sequence
Avoiding these habits alone can cut hours off a full GTA San Andreas Oysters hunt.
How GTA San Andreas Oysters Fit Into 100% Completion
Oysters are one of several collectible categories required for full completion in GTA San Andreas, alongside Tags, Horseshoes, Stunt Jumps, and Snapshots. Missing even one Oyster will cap your completion percentage below 100%, regardless of how many story missions or side activities you’ve finished. If you’re working toward full completion, it’s worth treating GTA San Andreas Oysters as their own dedicated task rather than something to pick up incidentally while doing other activities, simply because they’re the easiest collectible type to overlook due to being hidden underwater.
Are GTA San Andreas Oysters Worth Collecting If You’re Not Going for 100%?
Not every player cares about full completion, so it’s fair to ask whether hunting down every GTA San Andreas Oyster location is worth the time if you’re just playing casually. The honest answer depends on what you’re after:
- If you care about story progress only: Oysters add nothing essential. You can finish every mission in the game without collecting a single one.
- If you’re focused on girlfriends: Oysters are genuinely useful, since the full-collection reward removes stat requirements for dating and brings back girlfriends you’ve lost.
- If you enjoy exploring the map: Oyster hunting doubles as a guided tour of San Andreas’s coastline, bridges, and waterways that most players never see up close.
- If you’re chasing 100% completion: Oysters are mandatory, not optional, so there’s no way around collecting all 50 eventually.
For most players, Oysters end up being a side activity picked up gradually while doing other things, rather than a dedicated grind from the start.
GTA San Andreas Oysters: Definitive Edition vs. Original Release
Players moving between the original 2004 release and the GTA San Andreas Definitive Edition remaster often ask whether Oyster locations changed. They didn’t. The number of Oysters, their general placement, and the rewards for collecting them are consistent across both versions. What has changed is visibility, the remaster’s improved lighting and water clarity make it noticeably easier to spot a shell resting on the seabed compared to the murkier underwater visuals of the original release. If you struggled to spot Oysters on PS2 or the original PC release, the Definitive Edition genuinely makes the hunt easier without changing where anything actually is.
Conclusion
A few last things worth keeping in mind before you dive in: track your progress as you go, since it’s easy to lose count of which Oysters you’ve already grabbed once you’re several hours into a session. Pausing to check your stats menu periodically will confirm your running total without forcing you to guess. It’s also worth accepting that a handful of GTA San Andreas Oysters locations will take longer to find than others, particularly the ones tucked into pools or narrow inland waterways that don’t show up clearly from a boat. Patience matters more than speed here, rushing tends to mean swimming past the same stretch of water two or three times instead of once.
Finally, don’t treat this as a race against other collectibles. Spreading Oyster hunting across a few play sessions, rather than trying to knock out all 50 in one sitting, tends to keep the process enjoyable instead of turning into a chore.
Read More: GTA San Andreas Best Vehicles: Which Ones Are Actually Worth Driving in 2026
FAQ’s
1. How many Oysters are there in GTA San Andreas?
There are 50 Oysters scattered across the entire map of San Andreas.
2. Where are GTA San Andreas Oysters usually found?
They’re located underwater, typically near bridges, shipwrecks, shorelines, and occasionally inside swimming pools. (GTA San Andreas Oysters)
3. How much money do you get for collecting all the Oysters?
Each Oyster gives $100, and collecting all 50 unlocks a $100,000 bonus, bringing the total reward to $105,000.
4. Do Oysters unlock anything besides money?
Yes. Collecting all 50 also maxes out CJ’s lung capacity and removes stat requirements for dating any girlfriend in the game.
5. Can I date any girlfriend after collecting all the Oysters?
Almost any girlfriend, yes, the exceptions are Denise Robinson and Millie Perkins, who are tied to story missions rather than stat-based dating.
6. Are Oysters required for 100% completion?
Yes, all 50 must be collected as part of full game completion.
7. Do I need to collect Oysters in a specific order?
No. Oysters can be collected in any order, at any point after gaining free control of CJ.
8. When can I start collecting Oysters?
Oysters become available very early in the game, as soon as you have free roam control of CJ.
9. What’s the fastest vehicle for finding Oysters?
A boat works well for coastline sweeps, while the Seasparrow is faster for covering long distances between regions since it can land directly on water.
10. Do I need high lung capacity to collect Oysters?
It’s not required, but it makes the process significantly faster since low lung capacity forces frequent trips back to the surface for air.
11. Which region has the most Oysters?
San Fierro and Los Santos each have some of the highest concentrations, though Oysters are spread fairly evenly across the whole map.
12. Can Oysters be missed permanently?
No. Oysters are not tied to a mission or time limit, so they remain collectible throughout the entire game.
13. Do Oysters respawn if I miss one?
Oysters don’t respawn or move, each one exists in a single fixed spot, so it can always be picked up whenever you find it.
14. Is there a difference between Oysters in the original game and the Definitive Edition?
The number, general placement, and rewards for Oysters are consistent between the original release and the remastered Definitive Edition.
15. What other collectibles pair well with an Oyster-hunting session?
Horseshoes and Snapshots are both worth collecting alongside Oysters, since several are located near the same bridges, coastlines, and regions.